Arduino Weather Station Project
If you are looking for something easy, simple and at the same time you want to impress everyone with your Arduino then weather station project is probably the best choice especially when you are a beginner in the world of Arduino.
In this project we are going to learn how to make a simple weather station with the ability to measure .This post will cover the items required, step by step procedure and final code that needs to be uploaded on the Ardunio to make it all work.
So let’s start!
Items required
How does the Weather Station works?
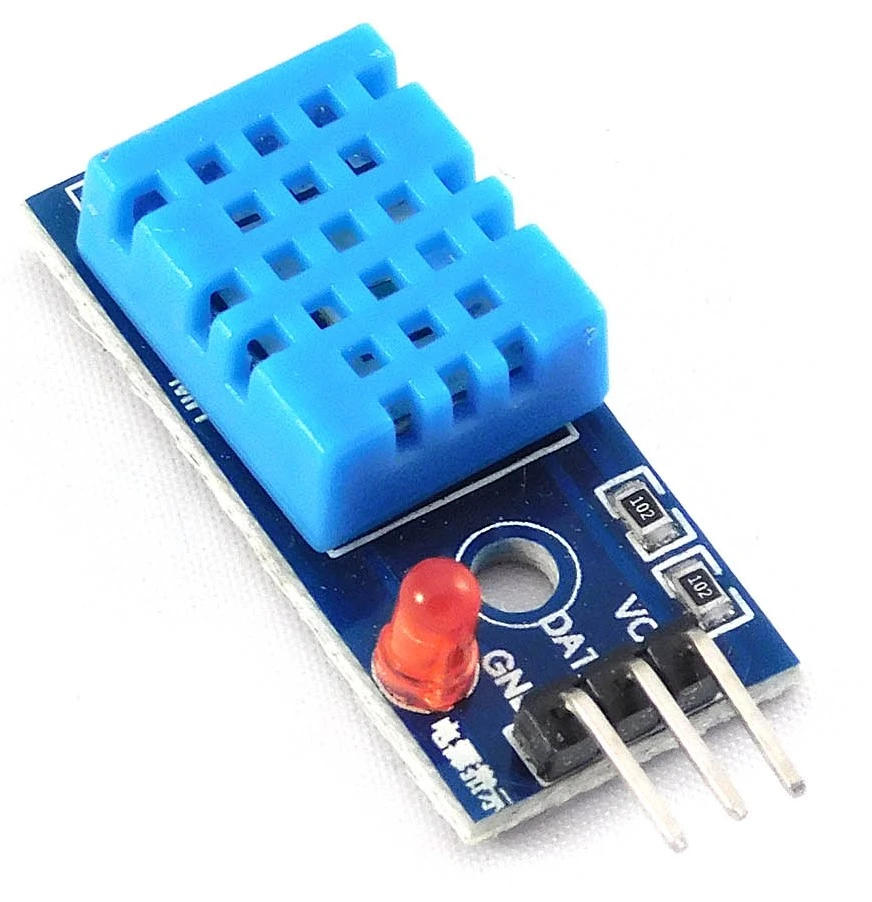
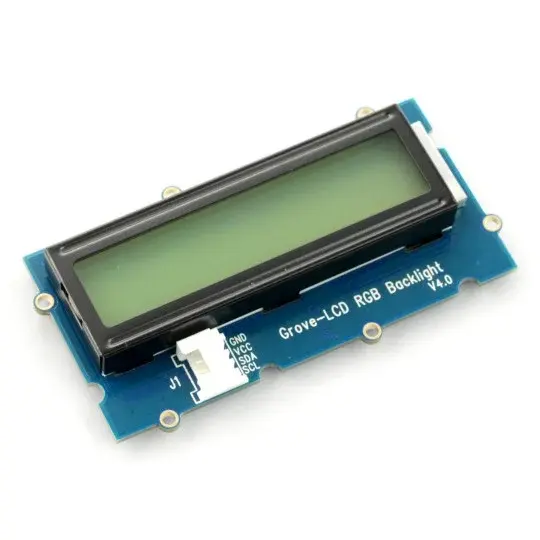
As the name suggests, we will be making a weather station which will enable us to measure the ambient temperature and humidity from a single sensor : DHT11. The sensor will take measurements in real time and display the results on the LCD screen.
Now lets learn how to put everything together.
Steps to follow
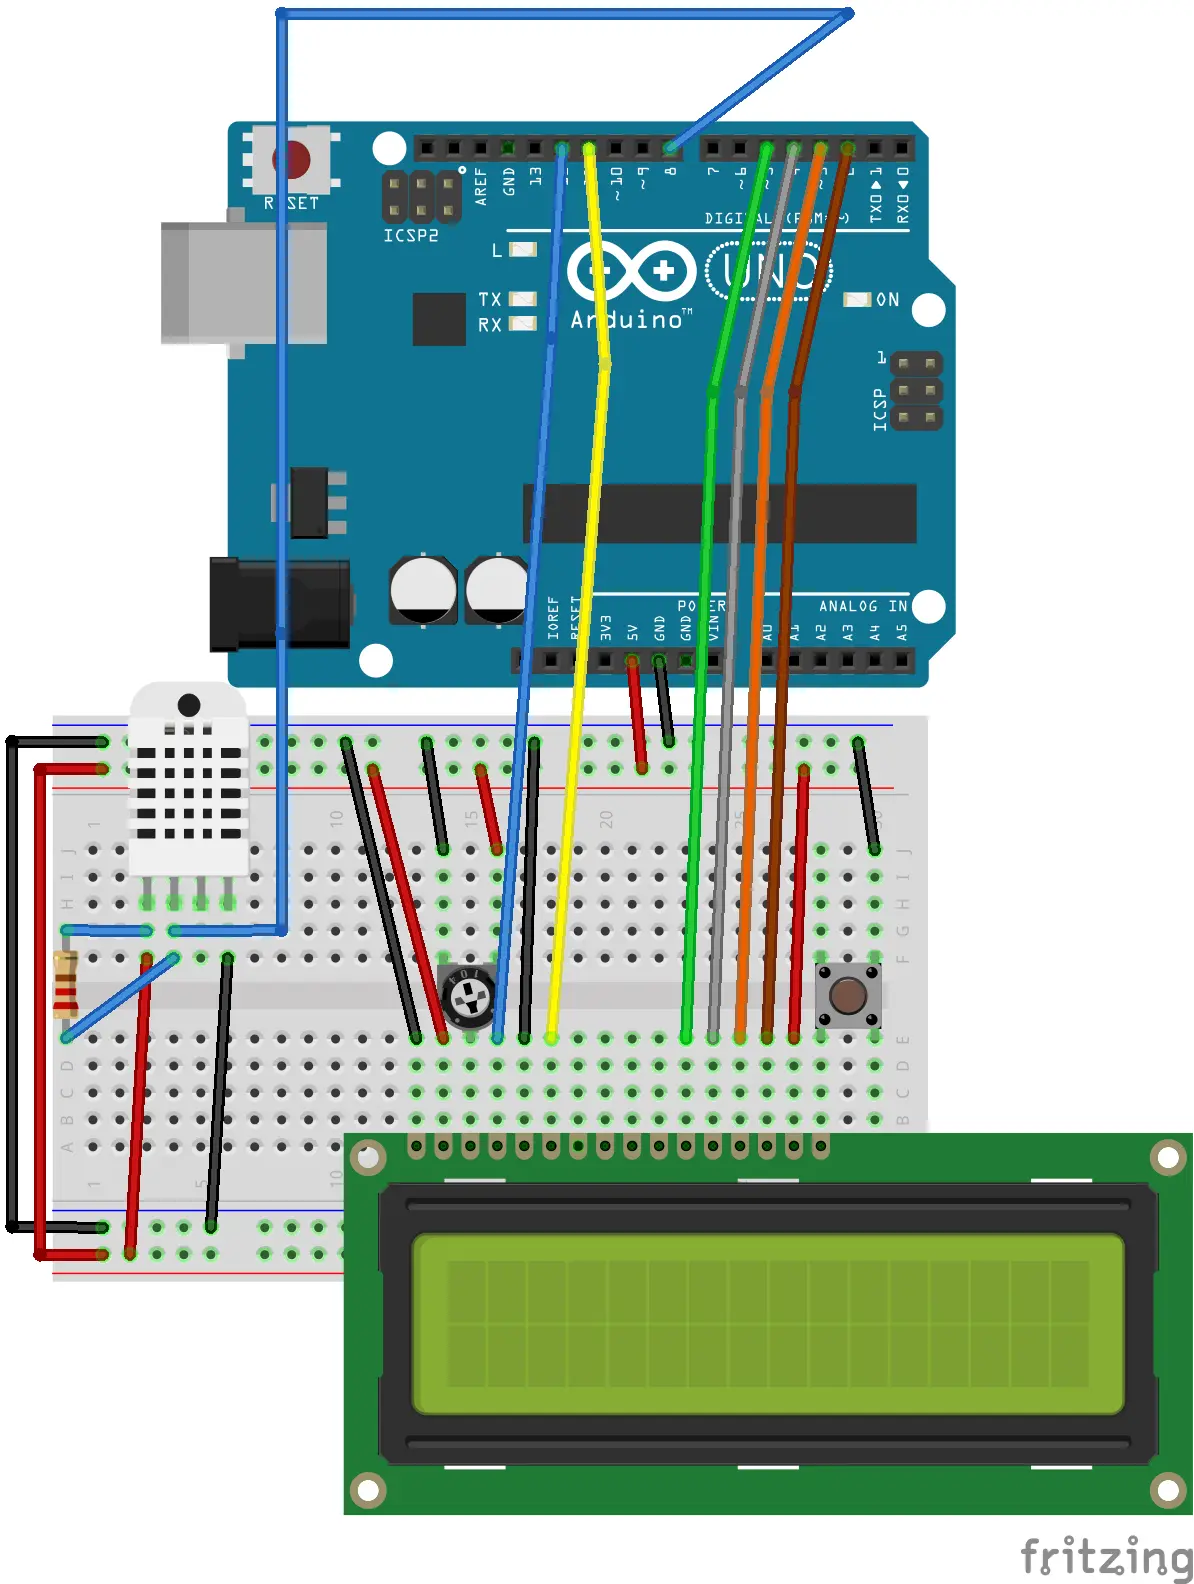
1. First let’s make the circuit, make sure to follow the exact circuit diagram since the program is designed accordingly.
2. Upload the Arduino code which is made for this project. You can find the code at the bottom of the post.
3. Bingo! you are all set to test your Weather station system !
Video
Here is a short video which can help you to get it right:
Arduino Code
// include the library code:
#include <LiquidCrystal.h>
#include "DHT.h"
// set the DHT Pin
#define DHTPIN 8
// initialize the library with the numbers of the interface pins
LiquidCrystal lcd(12, 11, 5, 4, 3, 2);
#define DHTTYPE DHT11
DHT dht(DHTPIN, DHTTYPE);
void setup() {
// set up the LCD's number of columns and rows:
lcd.begin(16, 2);
dht.begin();
// Print a message to the LCD.
lcd.print("Temp: Humidity:");
}
void loop() {
delay(500);
// set the cursor to column 0, line 1
// (note: line 1 is the second row, since counting begins with 0):
lcd.setCursor(0, 1);
// read humidity
float h = dht.readHumidity();
//read temperature in Fahrenheit
float f = dht.readTemperature(true);
if (isnan(h) || isnan(f)) {
lcd.print("ERROR");
return;
}
lcd.print(f);
lcd.setCursor(7,1);
lcd.print(h);
}
