Arduino Traffic Light Project
If you are looking for something easy, simple and at the same time you want to impress everyone with your Arduino then traffic light project is probably the best choice especially when you are a beginner in the world of Arduino.
We shall first see how to make a simple traffic light mechanism then to make it more interesting add the provision of pedestrian crossing as well. This post will cover the items required, step by step procedure and final code that needs to be uploaded on the Ardunio to make it all work.
So let’s start!
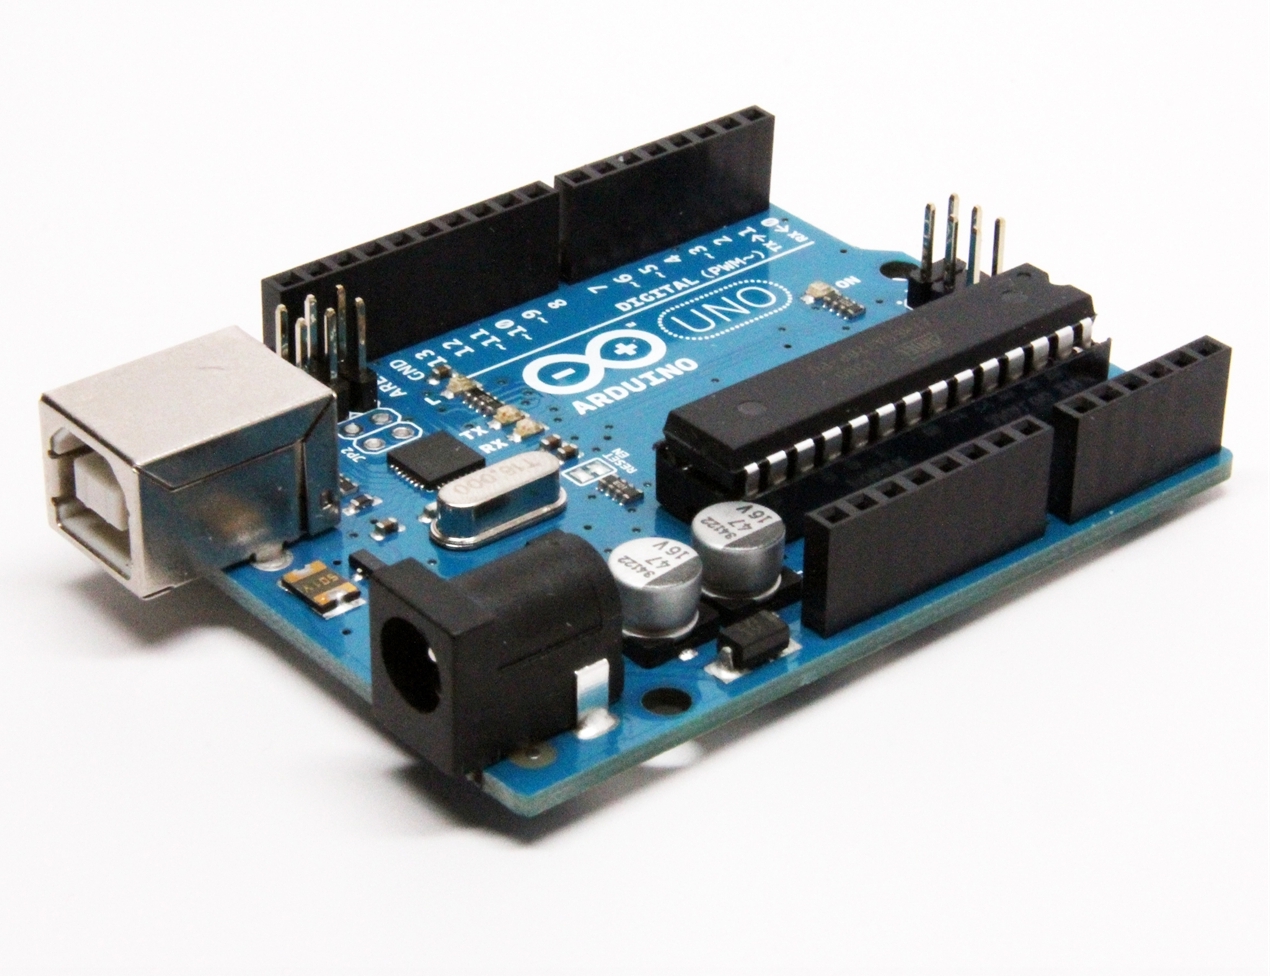
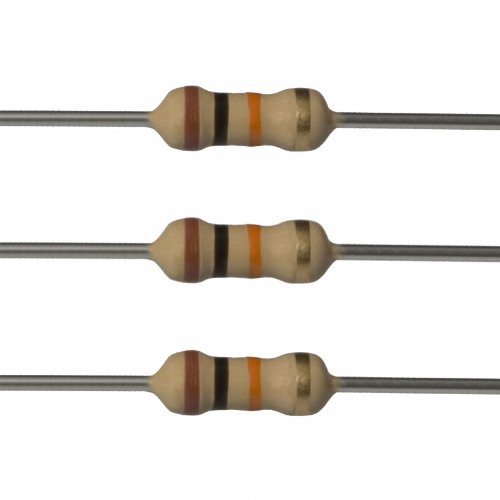
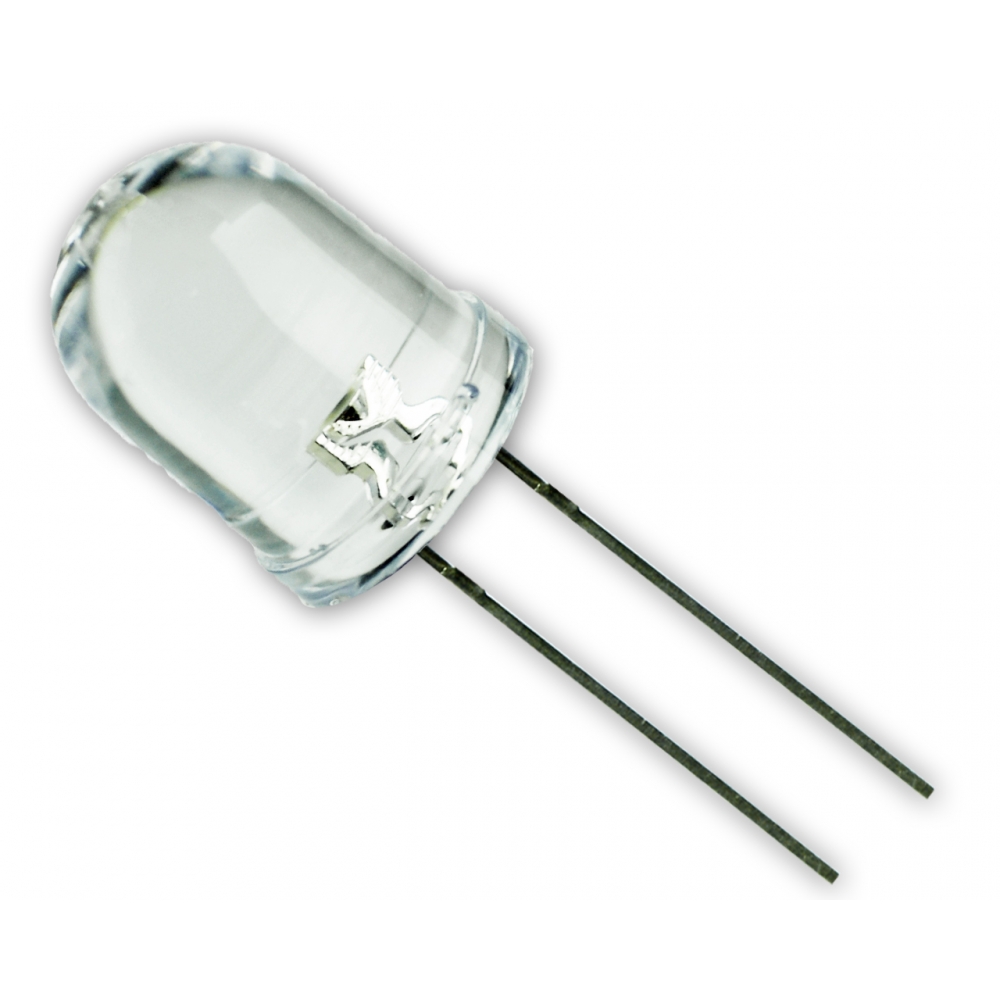
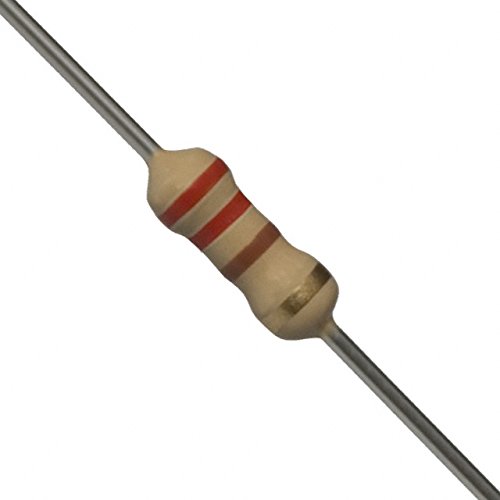
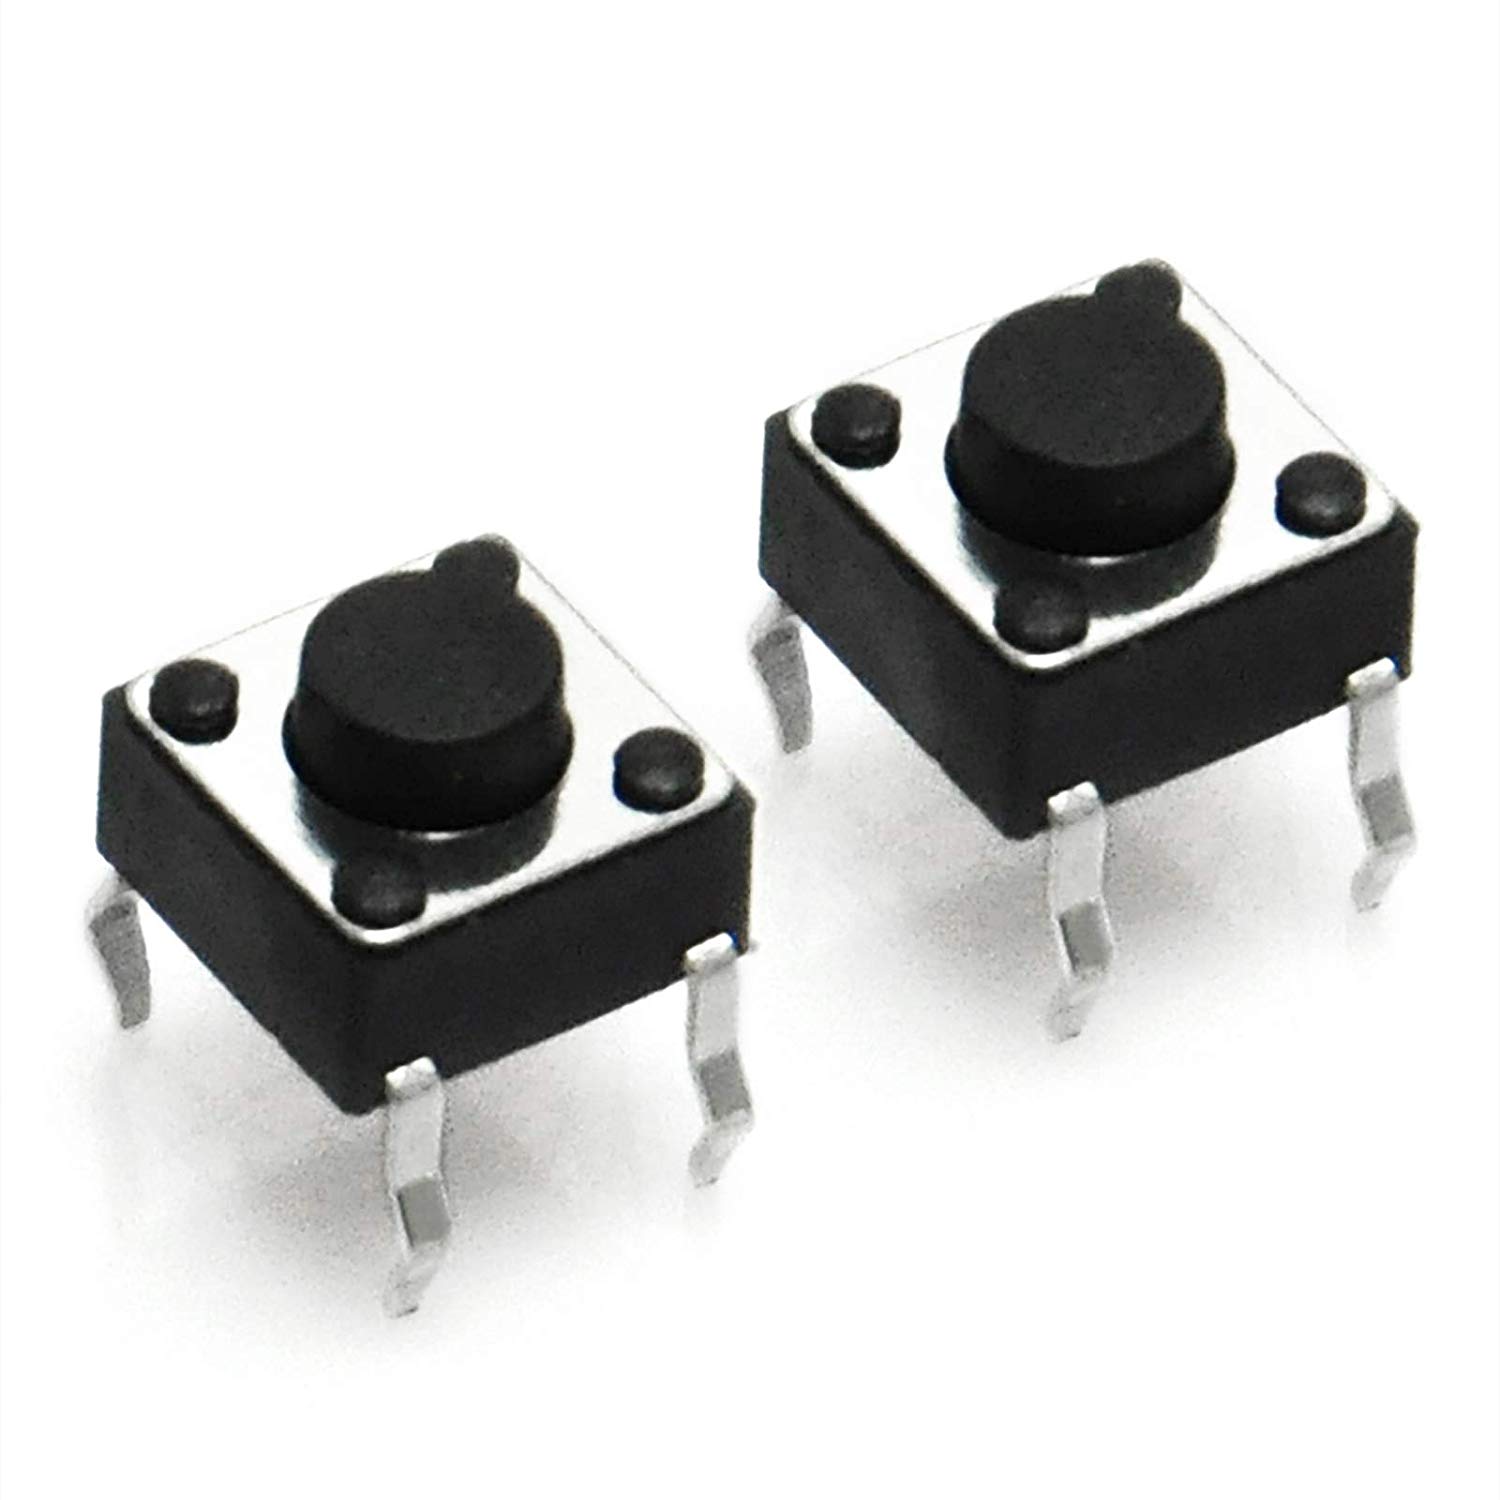
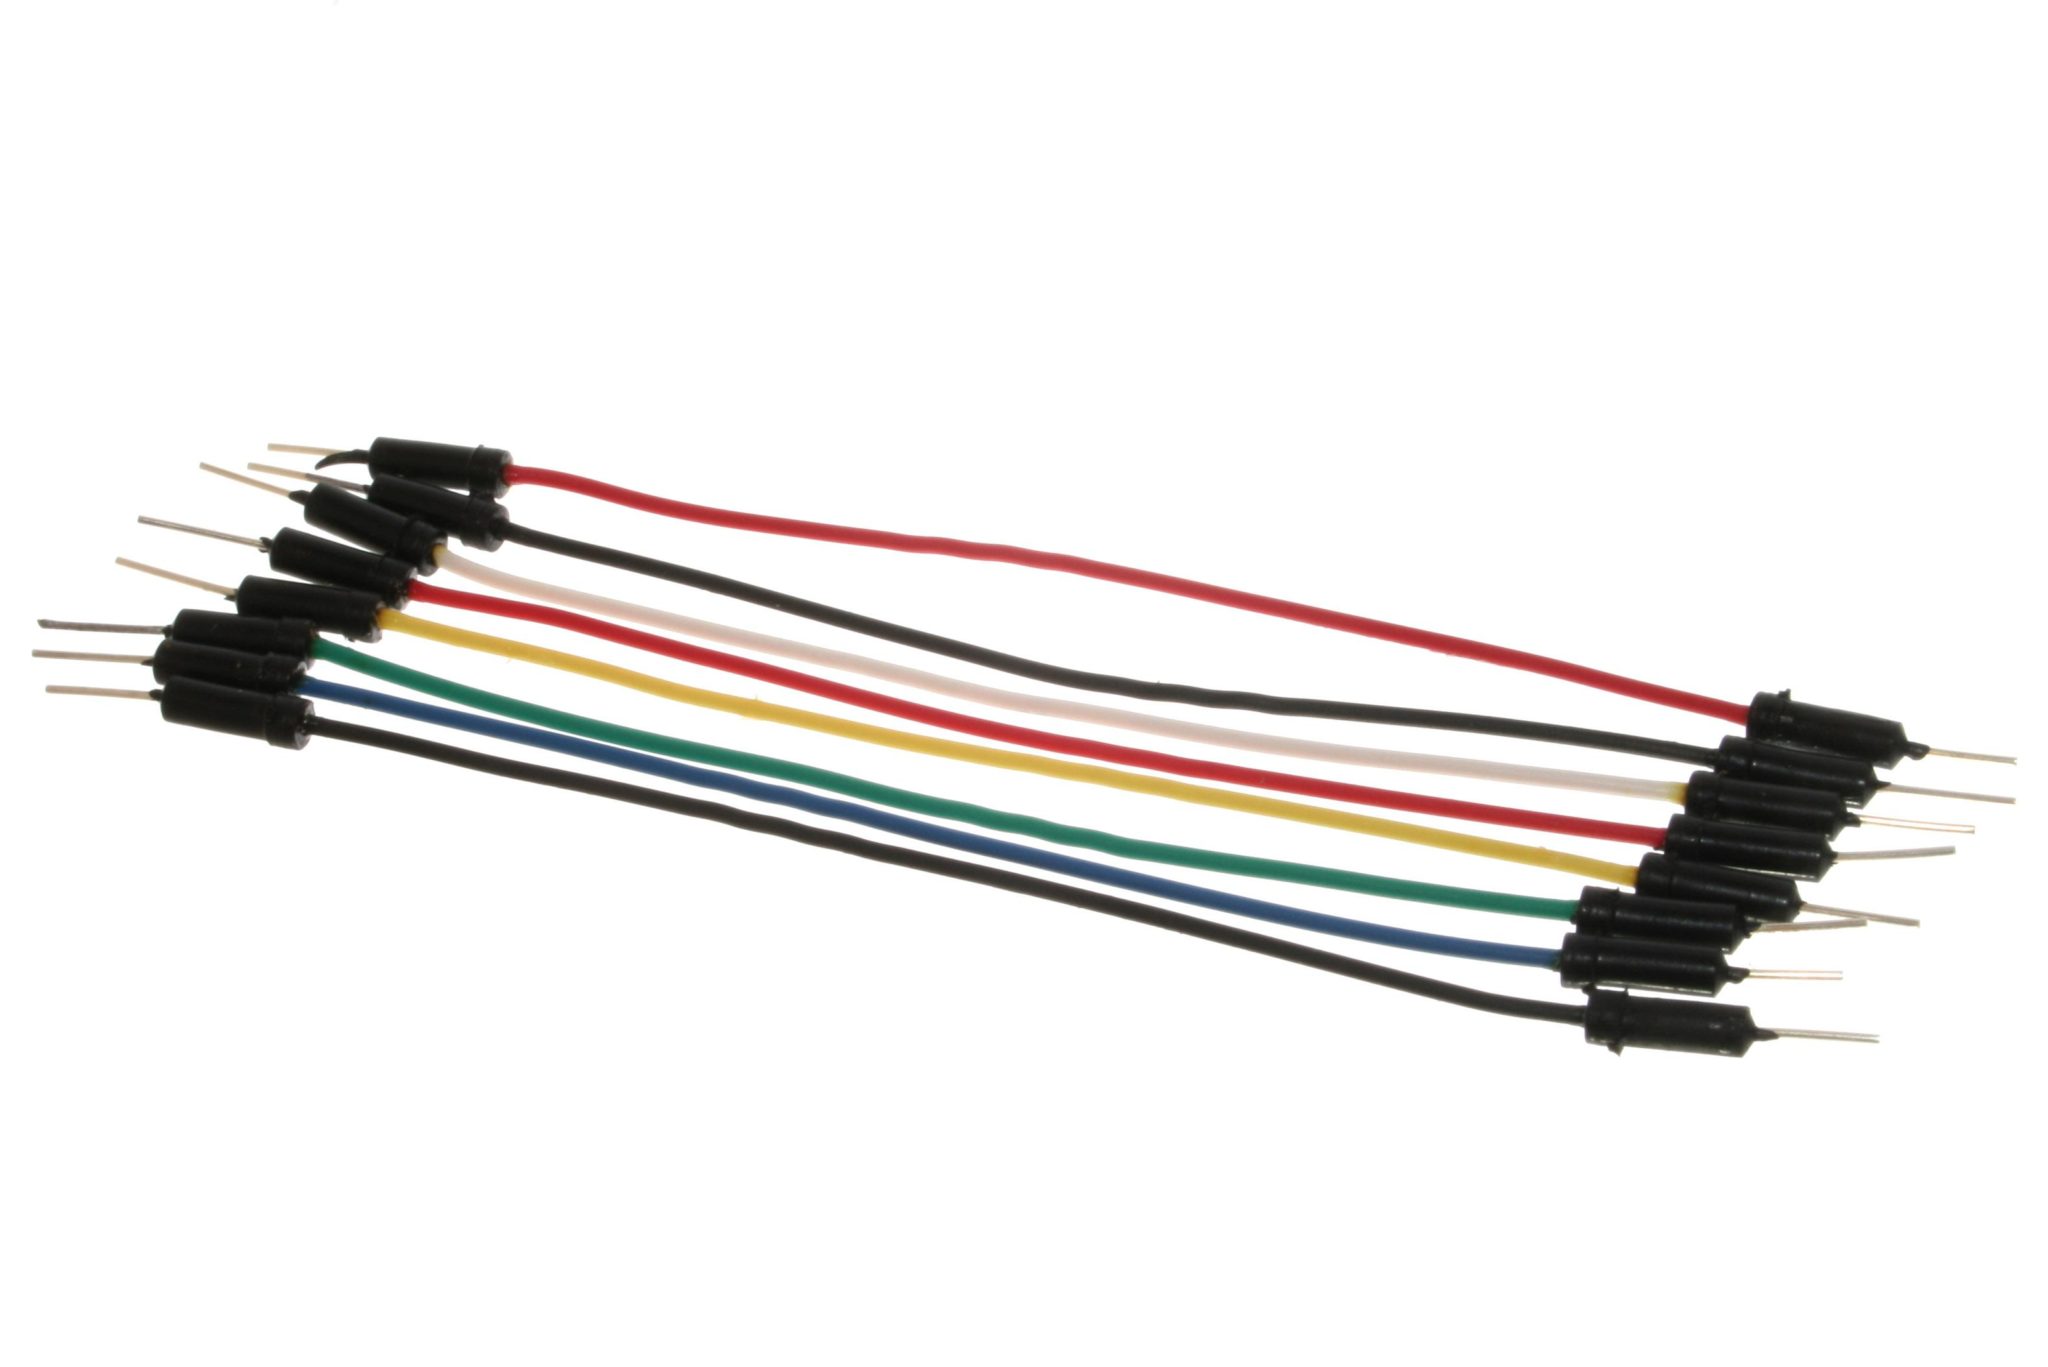
Items required
How does the traffic light system works?
In this project we will be simulating the traffic light system as in real life. The Red LED will be switched ON for 15 seconds followed by yellow and Green. Then Green will get turned OFF and yellow will be switched ON for few seconds followed by RED again and the cycle goes ON.
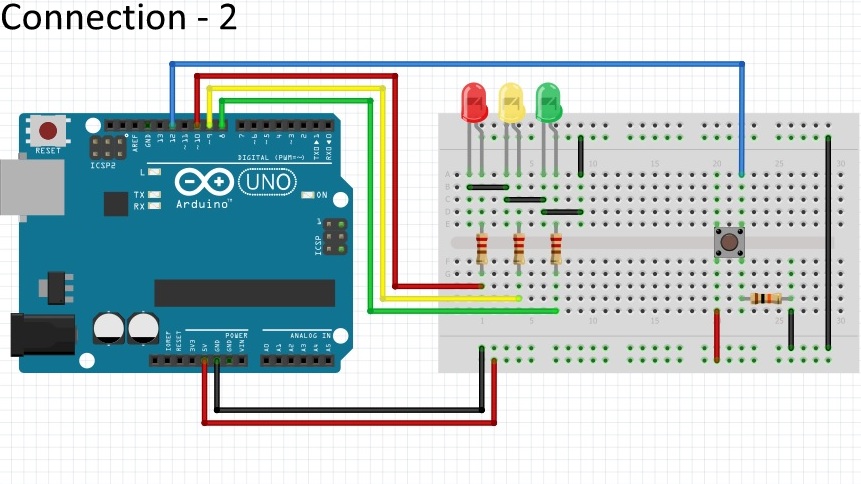
Now if we include the pedestrian crossing feature, the signal lights should operate to RED LED whenever someone pushes the crossing button as in real life. So instead of lights changing every 15 seconds, the light will change only when the button is activated.
Now lets learn how to put everything together.
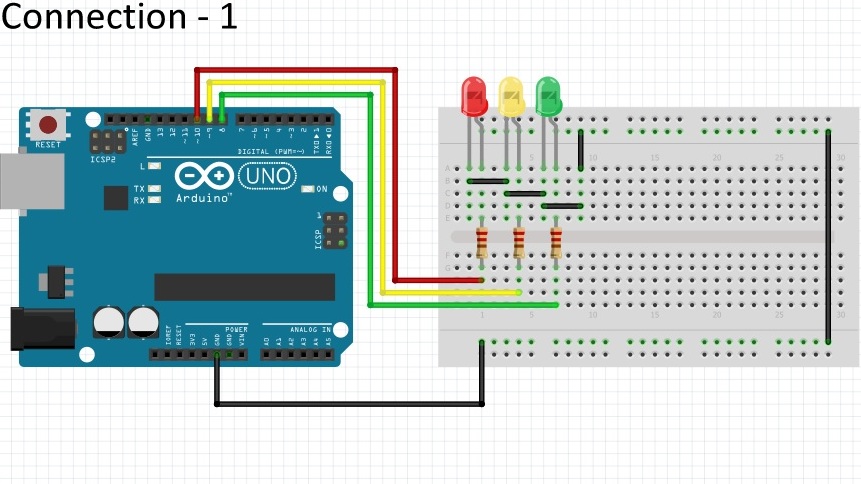
Steps to follow
NOTE: If you want to run the project without the pedestrian feature then the void loop() of the code needs to be changed with the following code :
void loop()
{
changeLights();
delay(15000);
}
Video
Here is a short video which can help you to get it right:
Arduino Code
int red = 10;
int yellow = 9;
int green = 8;
int button = 12; // switch is on pin 12
void setup(){
pinMode(red, OUTPUT);
pinMode(yellow, OUTPUT);
pinMode(green, OUTPUT);
pinMode(button, INPUT);
digitalWrite(green, HIGH);
}
void loop() {
if (digitalRead(button) == HIGH){
delay(15); // software debounce
if (digitalRead(button) == HIGH) {
// if the switch is HIGH, ie. pushed down - change the lights!
changeLights();
delay(15000); // wait for 15 seconds
}
}
}
void changeLights(){
// green off, yellow on for 3 seconds
digitalWrite(green, LOW);
digitalWrite(yellow, HIGH);
delay(3000);
// turn off yellow, then turn red on for 5 seconds
digitalWrite(yellow, LOW);
digitalWrite(red, HIGH);
delay(5000);
// red and yellow on for 2 seconds (red is already on though)
digitalWrite(yellow, HIGH);
delay(2000);
// turn off red and yellow, then turn on green
digitalWrite(yellow, LOW);
digitalWrite(red, LOW);
digitalWrite(green, HIGH);
delay(3000);
}


