Hack RC Car with Arduino (Step by Step)
The LABduino is a project in which we hack RC car and is controlled using a wireless module attached to the computer running LabVIEW. The RC Car is powered using an Arduino UNO board on board and have additional flexibility to include other sensors and functionality. With a flexible and easy to use LabVIEW UI, more options and creative features can be added to the project by anyone having no or very less programming experience. This project is perfect for you if you are looking for a good project idea for your last semester of engineering course or you are someone who loves playing with electronics.
In this article we will be exploring how you can hack the RC car and control it wirelessly using XBee. Since this is a little advance type of tutorial, we assume that you have at least basic knowledge of circuits in general and additionally you are comfortable playing around with Arduino.
On a side note, you might use different Arduino boards or controllers which may require you to reconfigure the LabVIEW program and therefore basic knowledge of LabVIEW is also essential for this tutorial.
What You Will Need
Software
- Arduino IDE - http://arduino.cc/en/Main/Software
- LabVIEW - http://www.ni.com/labviewse/compare/
- LabVIEW Interface For Arduino Toolkit - http://sine.ni.com/nips/cds/view/p/lang/en/nid/209835
- X-CTU to configure the Xbee
Components Required
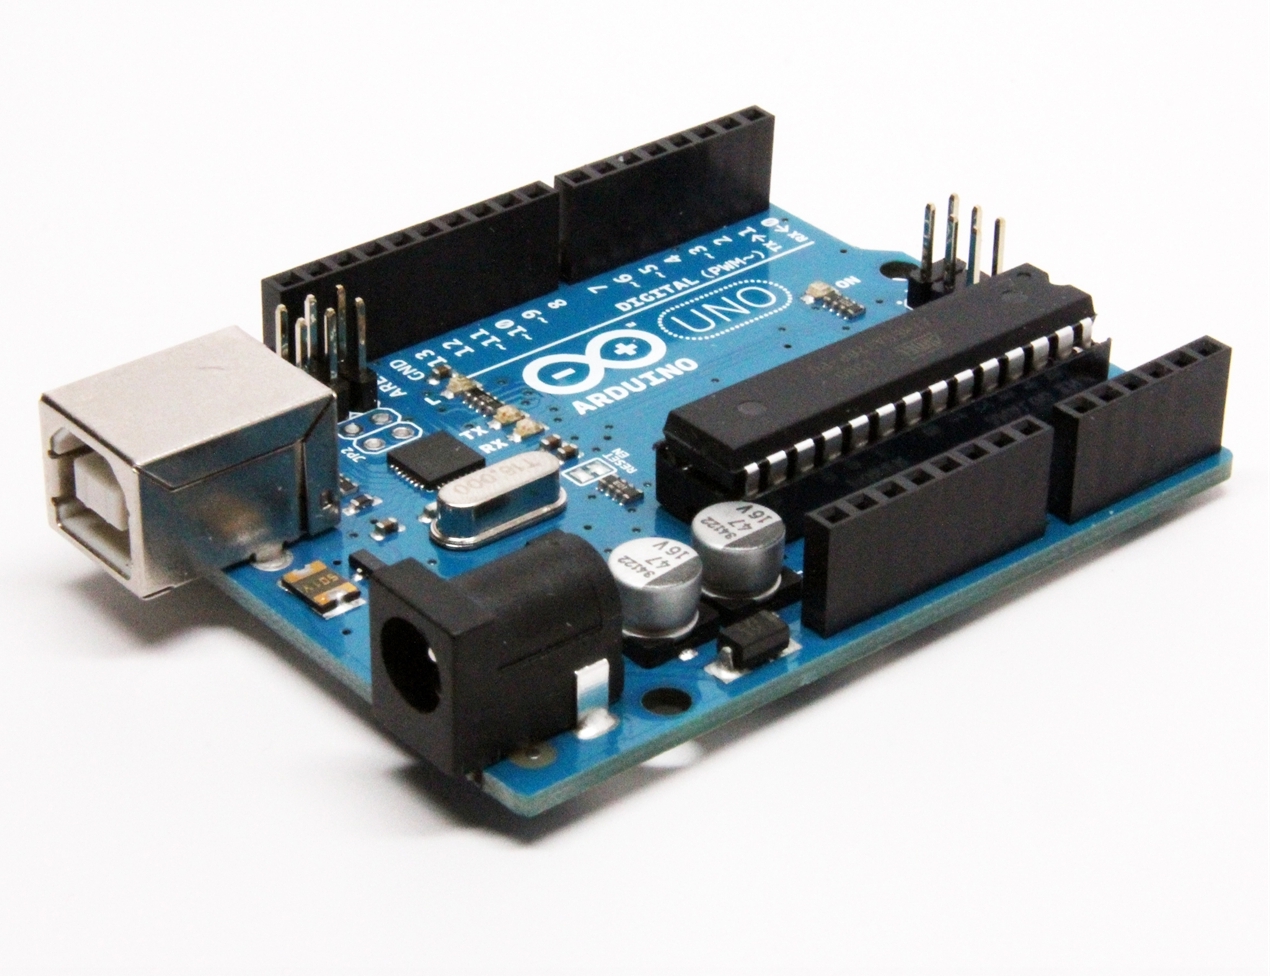
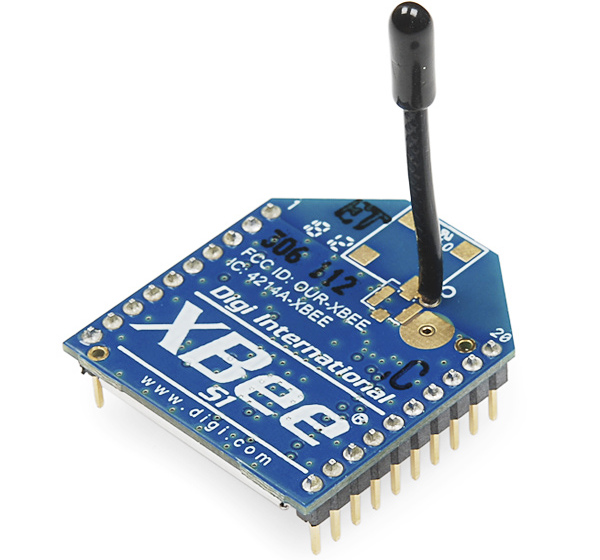
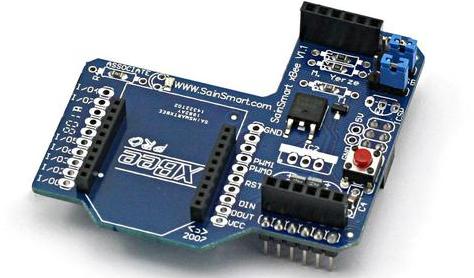
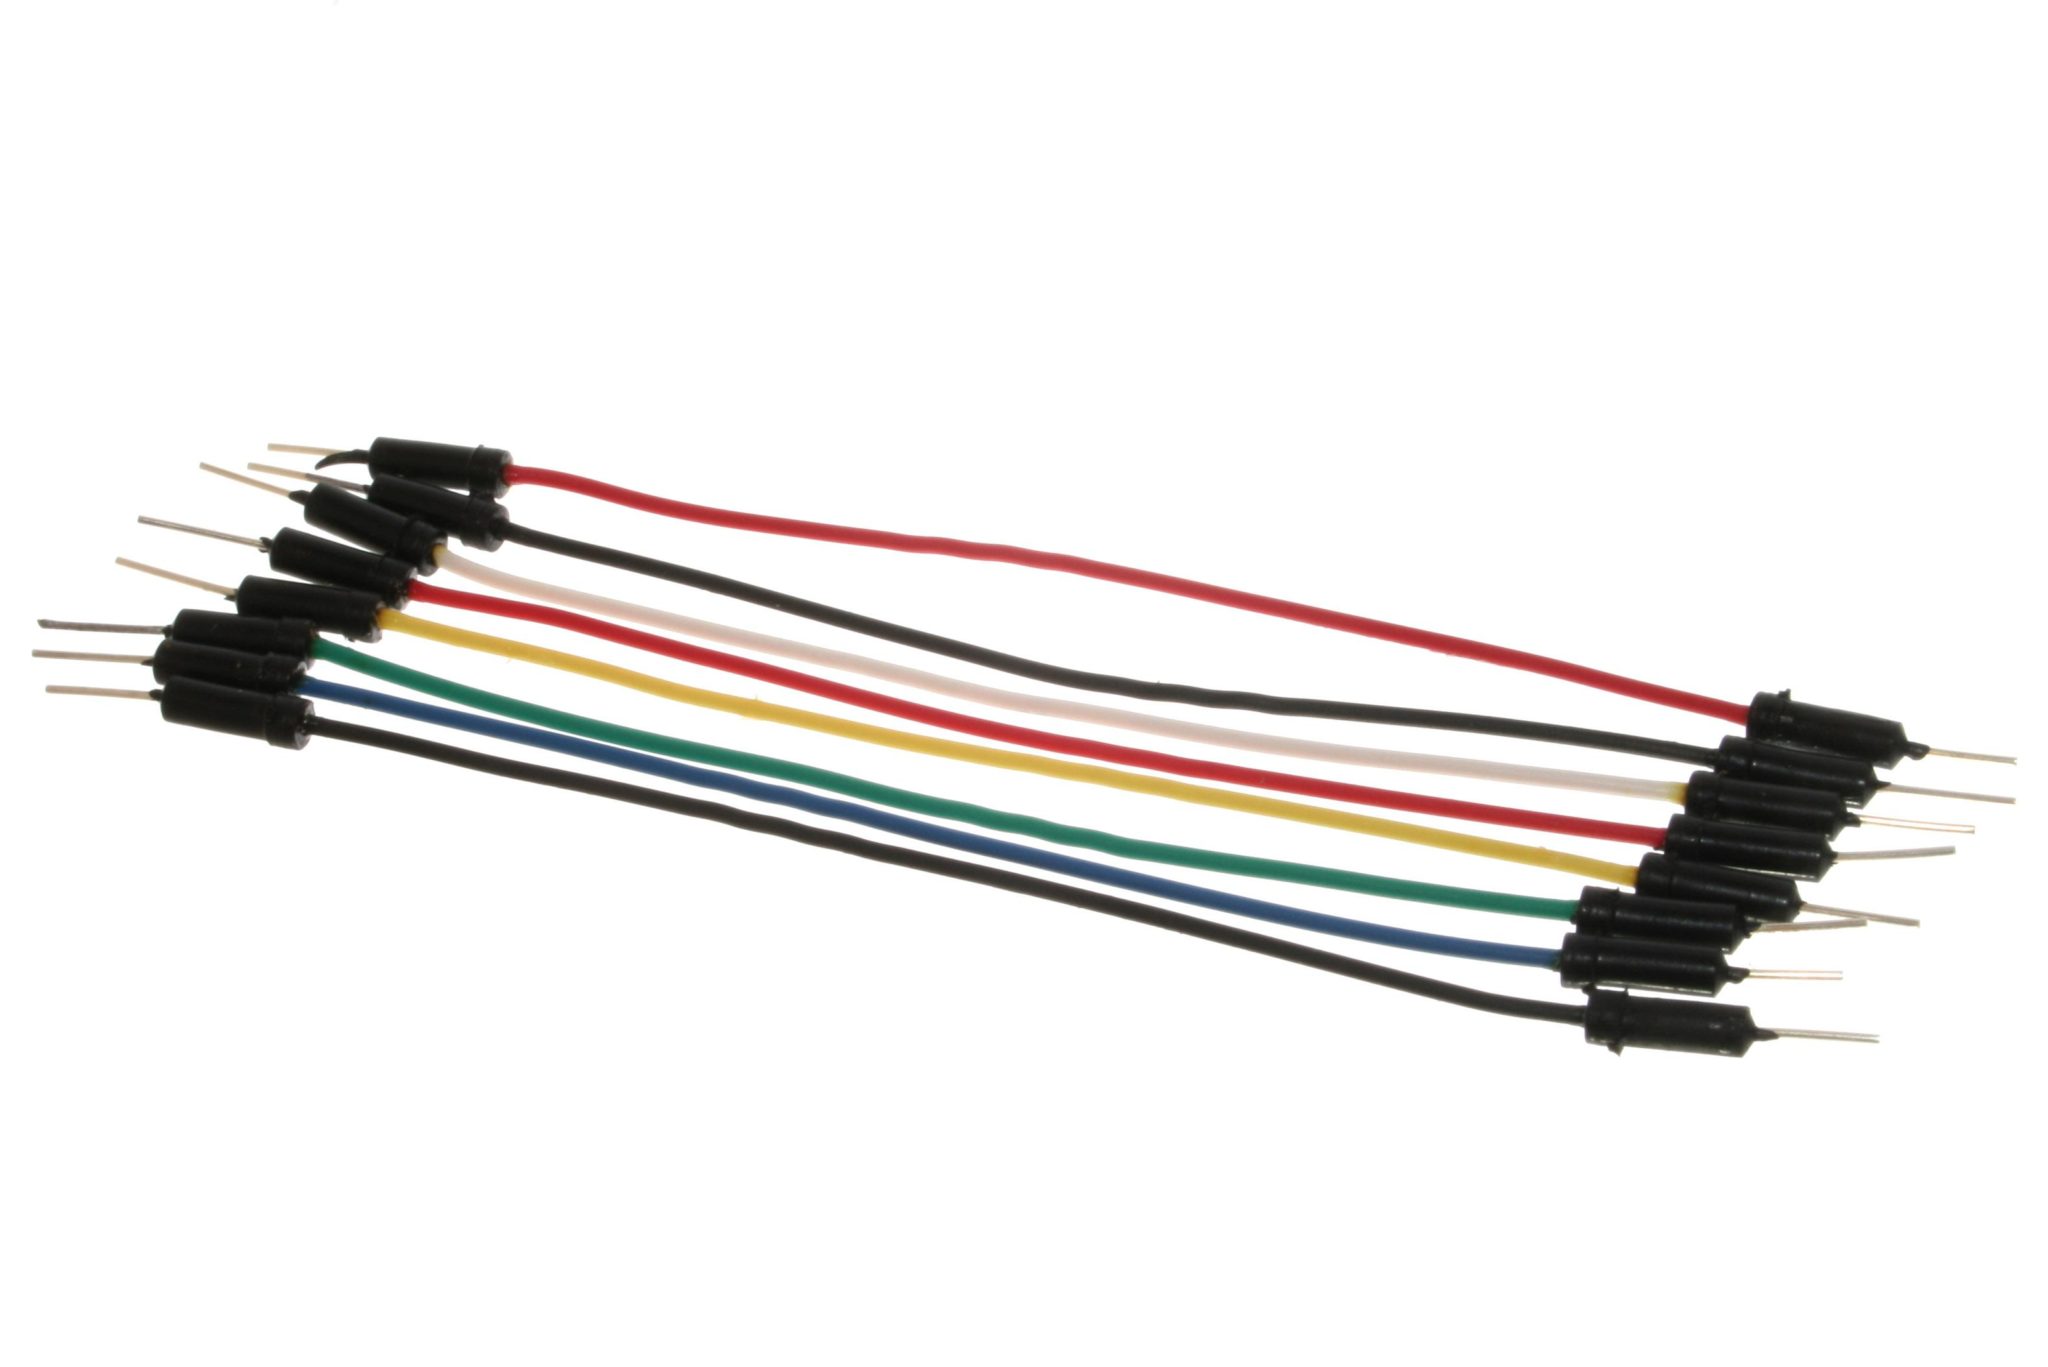
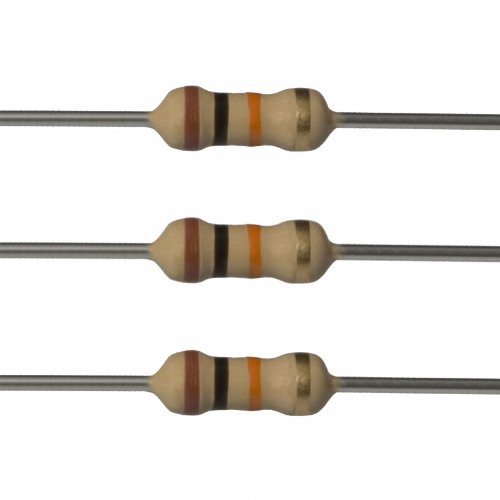
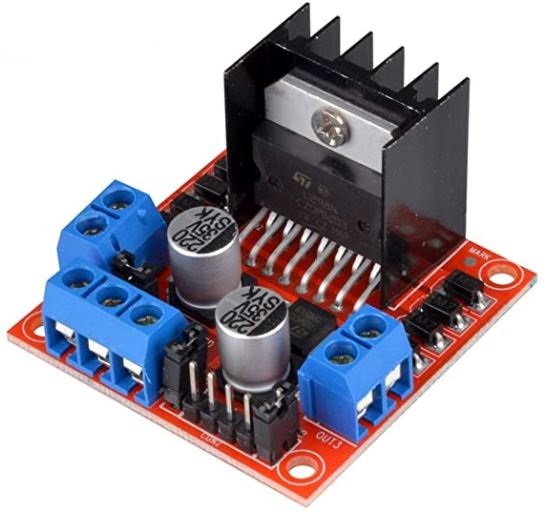
Step by Step Procedure
Step #1: Configuring the Arduino
First you will need to configure the Arduino to be interfaced with the LabVIEW program. Upload the LIFA_Base firmware to the Arduino. Which comes with the LabVIEW interface for Arduino Toolkit.
Step #2: Configuring the Transmitter
You can use a USB XBee adapter and place the XBee over it and then connect the USB dongle to the computer. You can check an online tutorial to learn how to configure XBee as transmitter and receiver.
Step #3: Preparing the RC Car
Remove the on board controller and only leave the battery compartment and the two drive motors in place.
Step #4: Vehicle Circuit Setup
Setup the circuit on the RC car as shown in the circuit diagram. Please we recommend using a Xbee Shield to make the circuit making a bit easy which help you omit some parts of the circuit shown.
Step #5: Understanding the LabVIEW VI
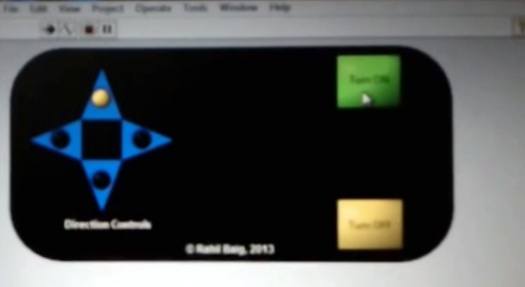
The VI designed for this project is a UI in which your computer’s on board arrow keys helps you to control the direction of the RC car. You can get the complete VI by contacting us on [email protected]
Step #6: Putting it All Together
Now when you are sure that everything is setup correctly, you are now ready to run the LABduino. Just plug in your transmitter or the USB adapter to your computer. Plug your controller on board the RC car. Power up the Arduino using the on-board battery compartment and run the VI. If everything was done correctly, you should be able to control the RC car using the directional keys on the keyboard.
